 |
 |

Rear Swaybar Bushing Replacement
Edited and produced by Joshua Langevin
WHAT
YOU WILL NEED
Jack and 2 jackstands
13mm socket ratchet and extension
New Rear sway bar bushings (I opted for Blue TPR)
PBblaster (for the rusty sway bar bolts)
1) Put the car in gear with
blocks on both sides of at least one of the front tires.
2) Jack the rear end of the car up and put jackstands in the appropriate places.
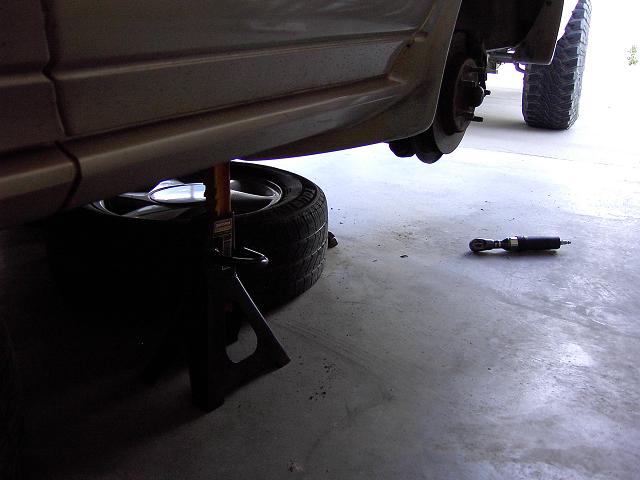
Always use jackstands when you are going to be working under the car.
3) Remove both Rear tires and place aside.
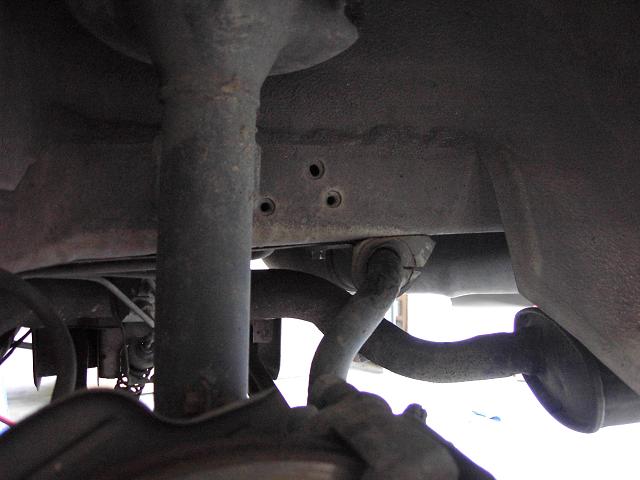
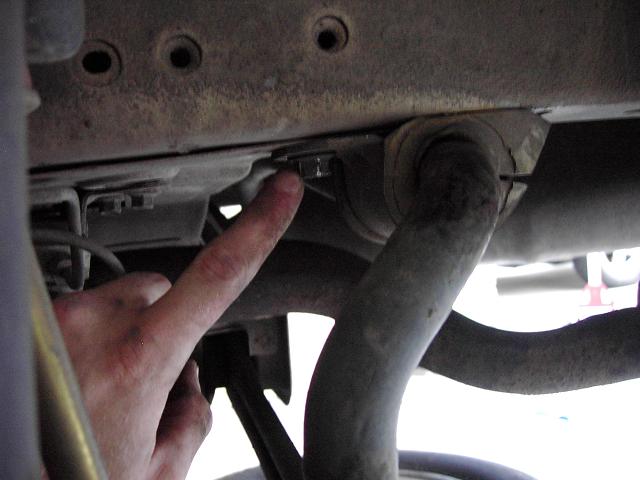
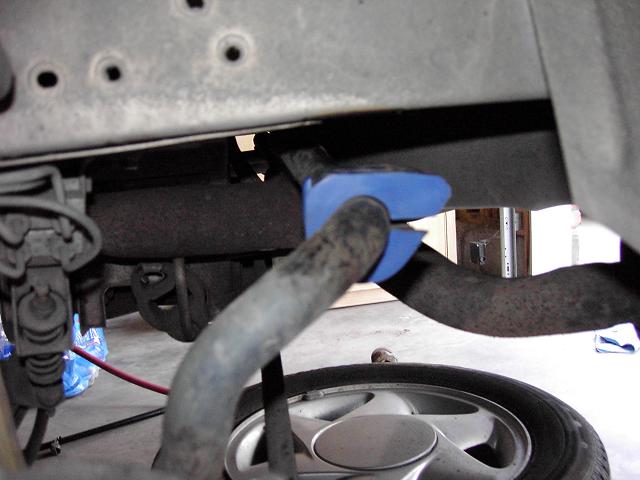
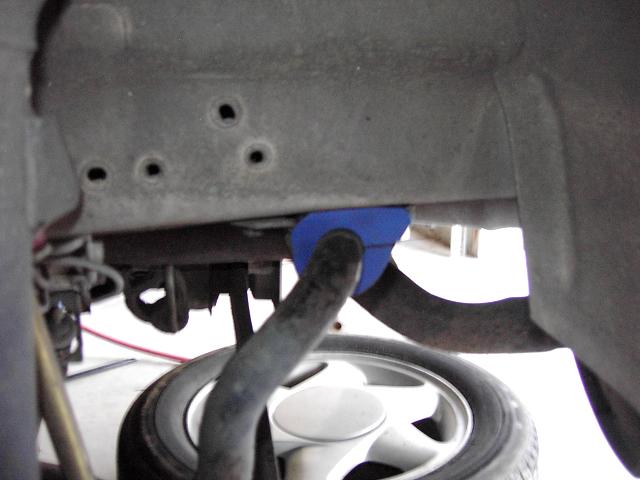
4) Loosen the bolt I’m
pointing to in picture three (picture two is
for reference of where this is). Do the same on both sides. You may
have to spray them liberally with PBBlaster and let them soak. Those
bolts seem to rust quite a bit.
5) Once you have both of the
bolts loose, take them the rest of the
way out and remove the brackets and old, worn out bushings. Set the
brackets aside. If the area on the bar where the bushings go seems a
little dirty, clean it up a bit with a paper towel and water.
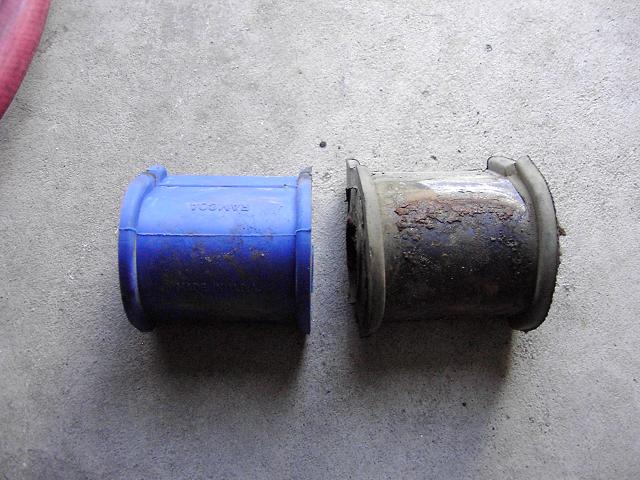
6) The bushings I used are the Moog K8761 for 25 or 26mm rear sway bars. You may choose to lube the bushings before you slide them onto the bar. I opted not to. If you choose to do so, you can use anything from anti-seize to wheel bearing grease. (Don’t use loctite :D )
7) Slide the new bushings on.
Put them on the same way the old ones
were on there. Place them in the "worn" section on the bar. This is to
insure that the bar is not too far over to one side, although the bar
will work itself to where it needs to be after a little driving.
8) Slide the bracket back into place and start threading one of the bolts in by hand. Do not cross thread the bolts!
9) Once the bolts are both
started and are not cross threaded, tighten them up.
10) Put the wheels and tires back on and lower the car.
11) Go for a drive and enjoy the new stiffness to your rear end! (That doesn’t sound right does it? ;) )