 |
 |

Pictures and Guide by Joshua Langevin
This is a step by step guide to replacing the front brakes in the 1989 to 1992 SHO. The 1993-1995 SHOs should be similar, as well as most of the front disk brake systems that you'll find. While you can turn your old rotors instead of getting new ones, usually a set of new rotors are the same price or even cheaper than getting your old ones turned! Having rotors turned means that you need to take them to a shop where they will put them on a machine and grind off some of the rotor's surface.
Parts needed:
New brake pads
New brake rotors (or you can turn your old ones)
Brake caliper grease
Special tools needed:
T-40 Torx head
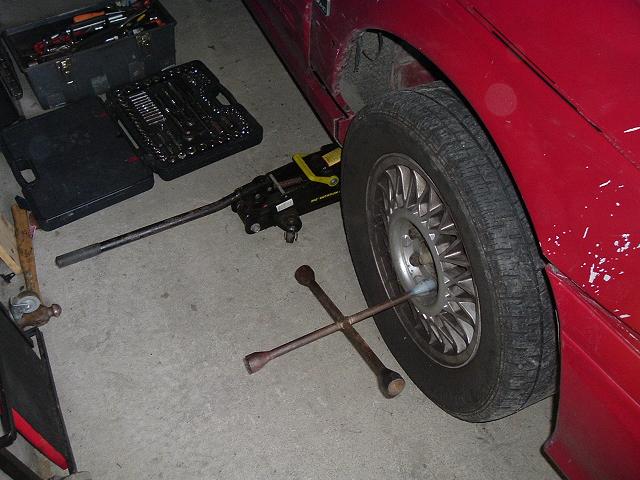
1. Loosen the lug nuts. Set the parking
brake, chaulk the wheels, safely jack up the car, and set jackstands under
the subframe. Then remove the wheel.
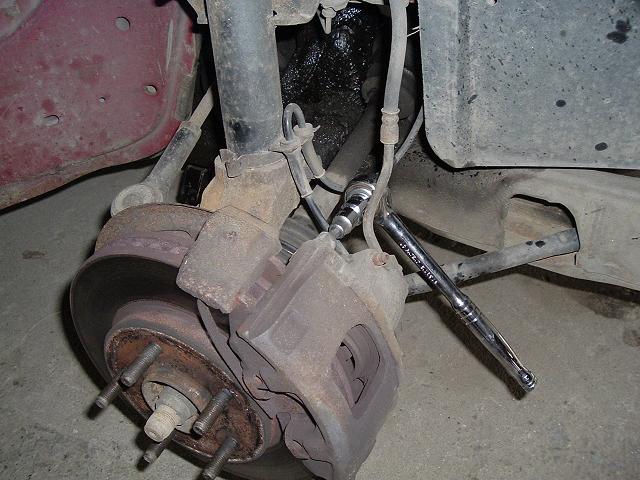
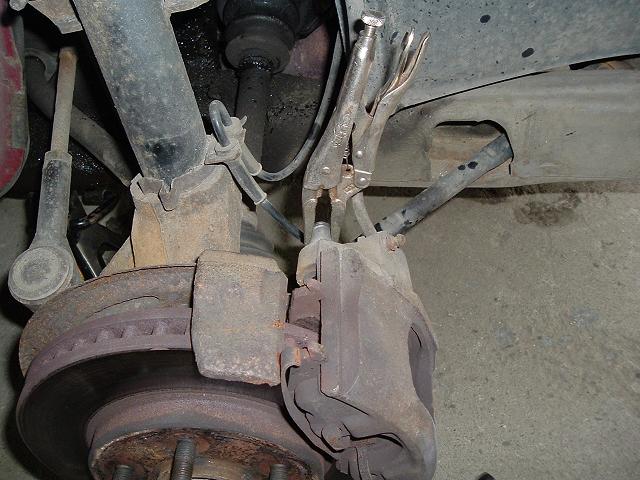
2. Using the T-40 Torx head, loosen the
two caliper bolts. On the newer SHO's, I think this is a 13mm bolt.
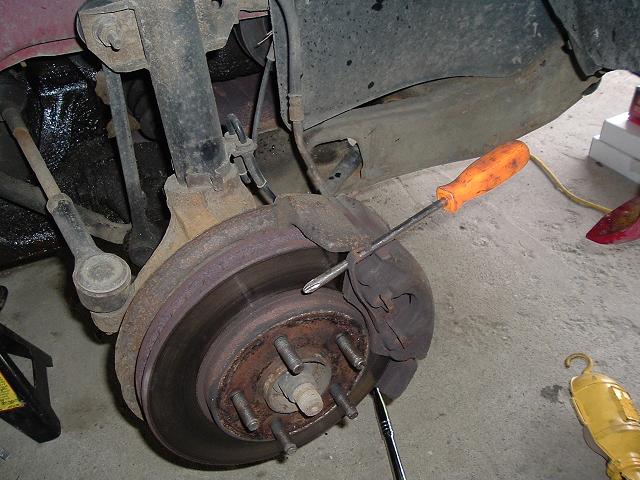
3. Pop the outside brake pad clip off with
a screwdriver, like this
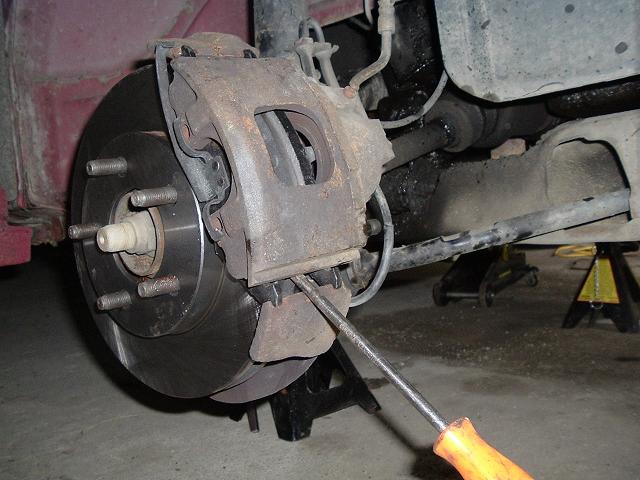
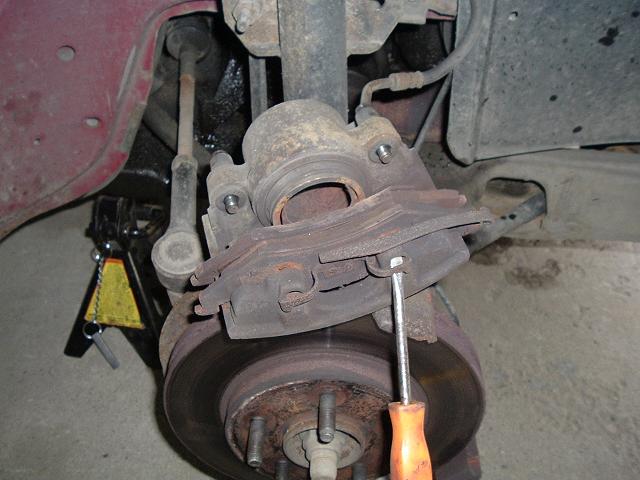
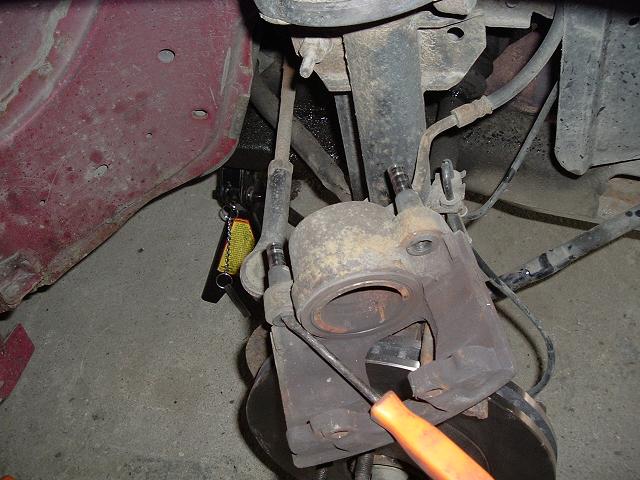
4. Now pry up on the bottom (not the top!)
of the caliper using a screwdriver
5. If the caliper won't come off, the Torx
bolts might still be stuck, even if they are loosened all the way. You might
have to grap the pins with some plyers and pull them out. However, be careful
not to use the plyers on the pins, but carefully grap the rubber boots and
try to pull them out.
6. Once the caliper is free, set it on top
of the assembly, so that no tension is put upon the rubber brake line. Pull
the inner brake pad right out by hand. For the outer pad, use a screwdriver
to pry these clips up and off the caliper. Then remove the pad.
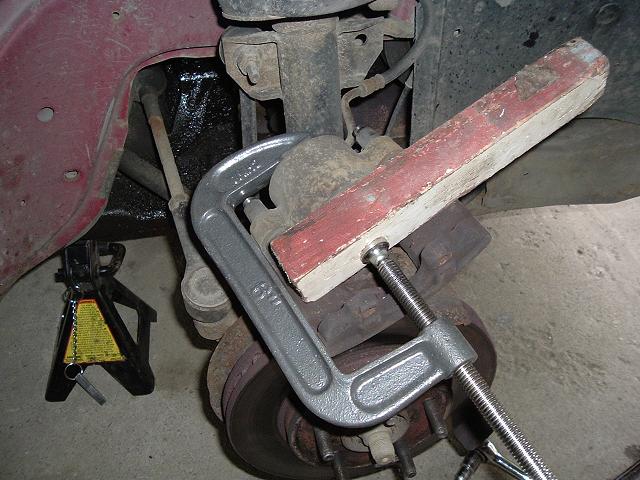
7. Now using a large c-clamp and block
of wood, press the piston back into its bore
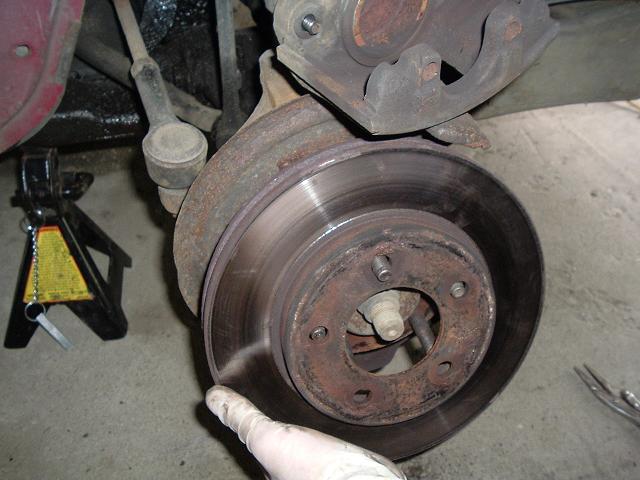
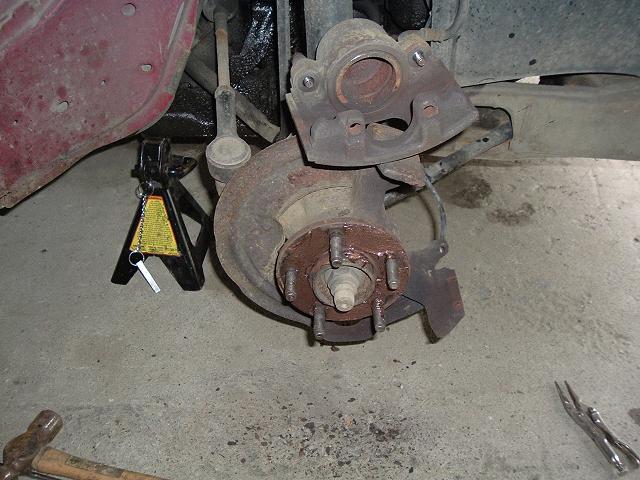
8. Remove the rotor. If it doesn't come
off easily, pound on it with a hammer. If you plan on turning and reusing
your old rotors, you should be careful how much you beat on it.
9. Spread some never-sieze on the area the
rotor touches. This way, the next time you have to do the job, it'll come
off easier! Replace the rotor with your new or turned one.
10. While we're in here, let's push the caliper pins (Torx bolts) out with a screwdriver and give them some fresh grease. Use synthetic brake caliper grease, and be careful not to get any on the rotor or pads.
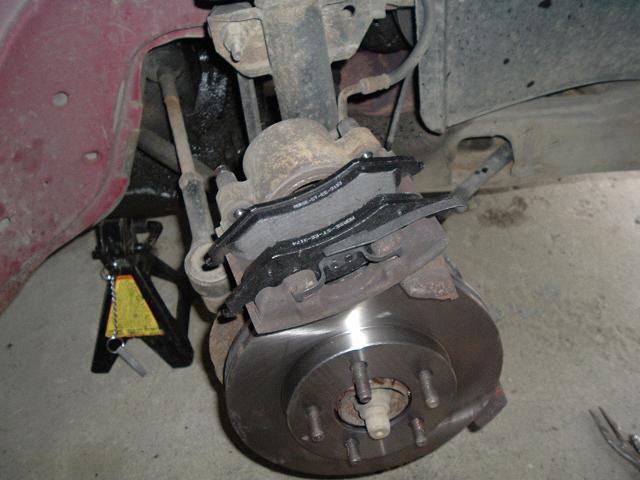
11. It's now time to replace the pads. The
inside pads are the same for both side of the car, but the outer pads are
different. Look at them closely and you will see the letters "RH" for the
passenger's side and "LH" for the driver's side. Before installing them,
spread brake pad anti-squeal on the backs of them (it should come with the
pads). Press the inner pad into the bore, then replace the outer pad, so
that the clips go over these holes. This is the passenger side ("RH") being
installed.
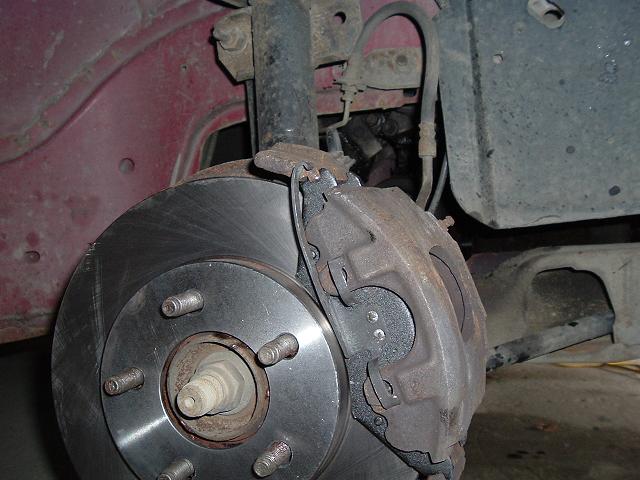
12. Now install the loaded caliper onto
the rotor. Install the top first and make sure it is installed into this
groove correctly. You will probably need to tap on the bottom of the caliper
with a hammer to get it installed.
13. Now tighten the T-40 Torx bolts and
move the clip on the outer pad into the correct place.

That's all there is to it! Now reinstall
the wheel, lower the vehicle, and torque the lug nuts. Repeat the process
for the other side of the vehicle.
Once you get the other side done, start the car and press the brakes several times to make sure that the pads are tight against the rotors. Now go for a careful test drive, and stay out of traffic until you know that everything is all set.