|
 |

Gen II SHO MTX Front 60k Mile Service
Pictures and Guide by Joshua Langevin
This is a step by step guide to doing the front 60k mile service on a Gen II MTX SHO. Many of these steps will be the same for the Gen I, as well as the Gen II ATX. When the steps are different for the ATX I have tried to show them. When you remove any nuts/bolts or parts, please keep good track of them! I always try to put nuts and bolts back where I got them after removing the part.
Required Tools
Rachet and socket set, 1/2" drive, 6 point 19mm socket required
Various wrenches, plyers, screwdrivers, etc
Breaker bar
Torque wrench
Hex keys, preferrably ones that can be attached to an extension, 5mm, 5.5mm (some cars), 8mm
Strap wrench (recommended, required for ATX)
Crank puller set (steering wheel puller)
Propane torch or similar
Pick set
Prybar
Feeler guage
PVC pipe, 1 1/2" and 2" (for installing cam seals)
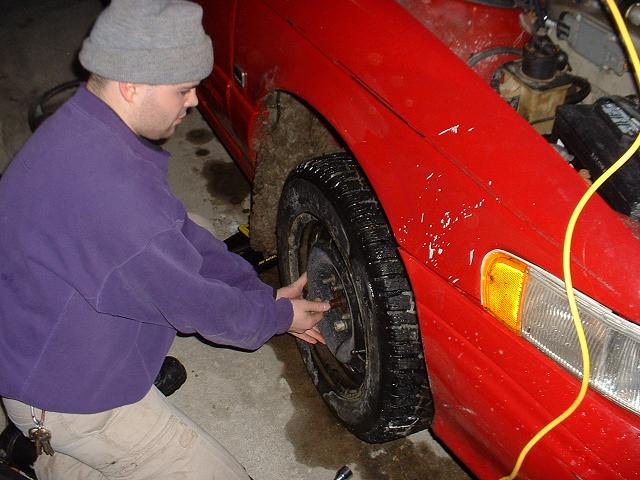
1. Loosen the lug nuts. Set the parking brake, chaulk the wheels, safely jack up the car, and set jackstands under the subframe. THen remove the wheel.
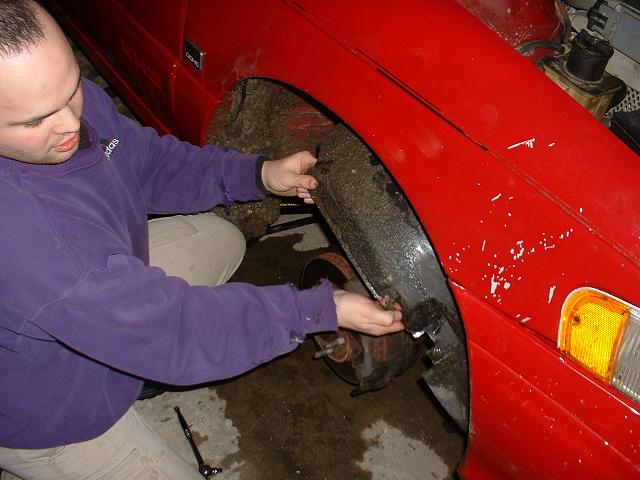
2. Remove splash shield. Unscrew the Phillips screws from around the edge, take out the few 8mm bolts, and pull out the plastic anchors. (Shown in this pic.)
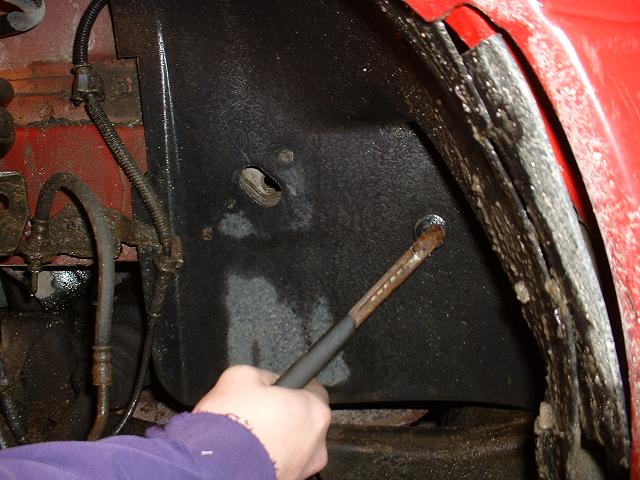
Remove the splash shield. It takes a little bit of wrestling!
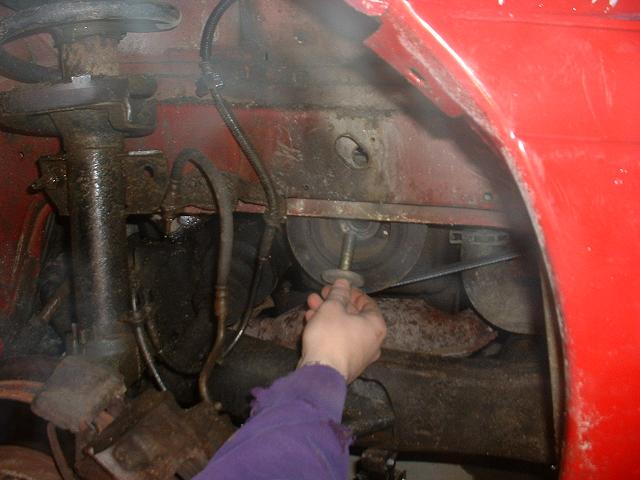
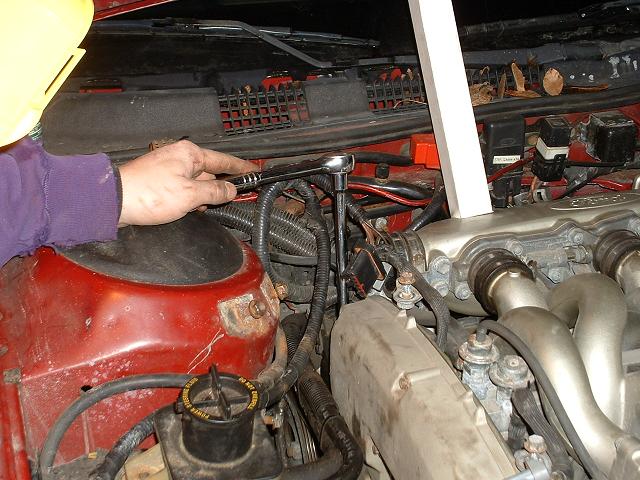
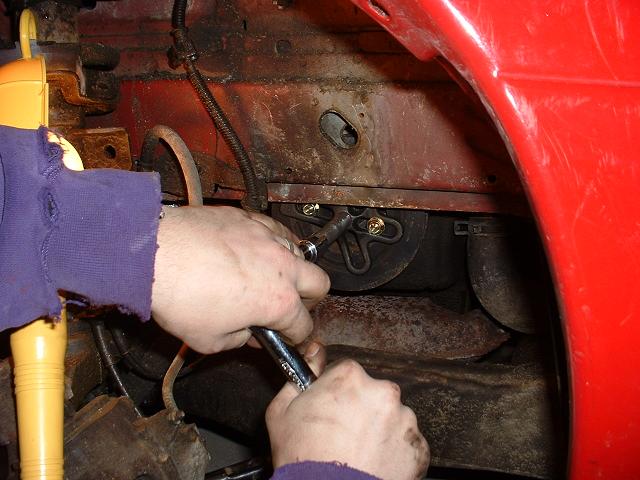
3. Time to loosen the crank bolt. We will do this using a "starter bump".
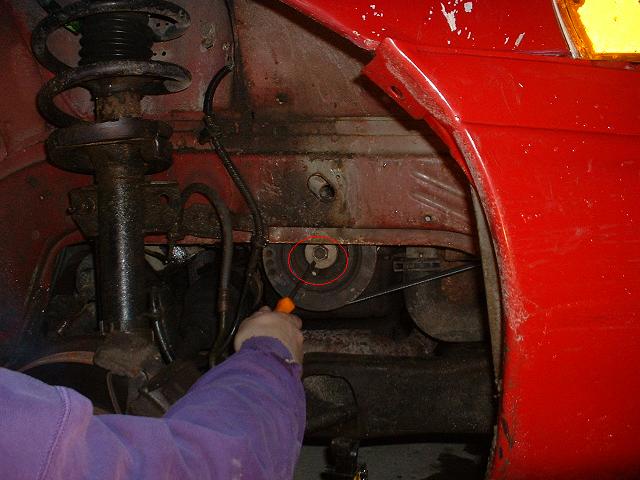
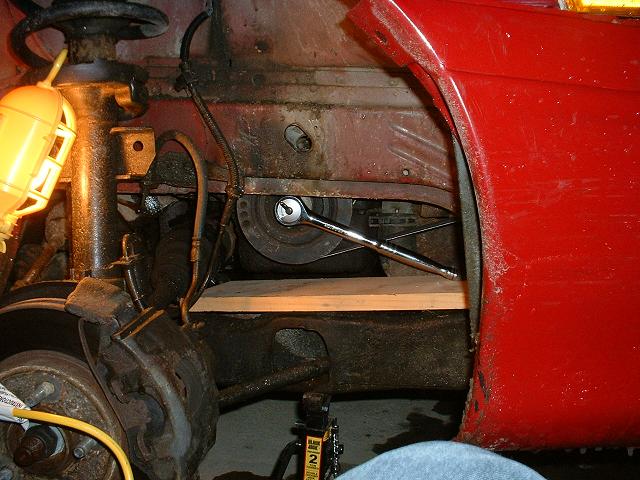
Place a piece of wood under the handle of the ratchet to give it something to press against
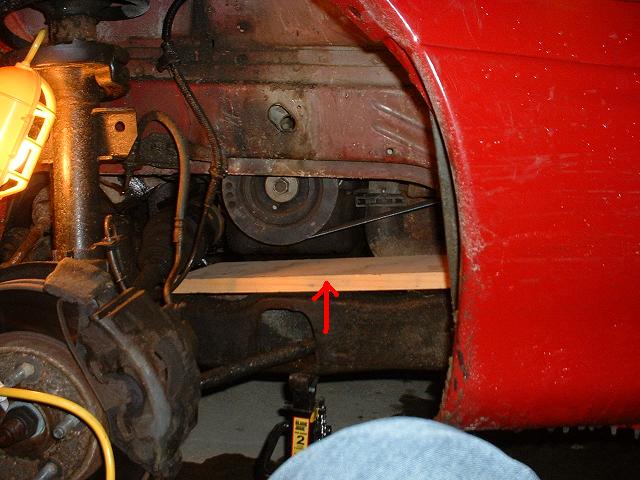
Attach a 19mm, 1/2 drive, 6 point socket to a breaker bar or lifetime warranty ratchet.
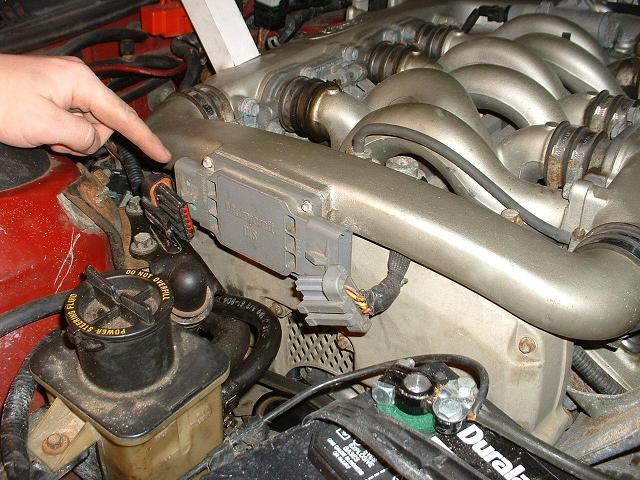
Don't forget: Unplug your DIS! You don't want the car starting up on you!
"Bump" the starter. This means you will turn the key to the start position for about 1/4 of a second and then back. You'll hear a crack and the bolt will be loose!
4. Remove battery and battery tray. Remove the 8mm bolt in the bottom of the tray (you can see I broke mine off).
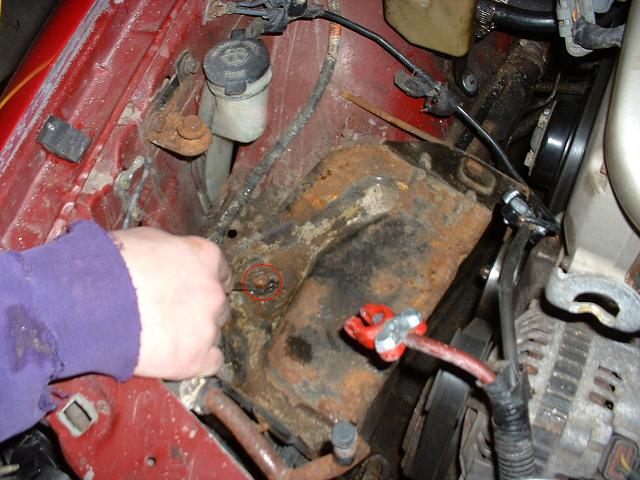
Then you only need to loosen (not remove) the two 8mm bolts going into the side of the inner fender. You can then remove the tray. You may find it easier to loosen the left (from passenger fender point of view, upper right in this pic) bolt by using a 8mm wrench and coming from underneath. NOTE: Apparently on some SHOs, you will have to remove these bolts.
5. Remove the crossover tube. Unbolt the two 12mm bolts, and you can use a flathead screwdriver to loosen the two hose clamps.
Pull the crossover tube off
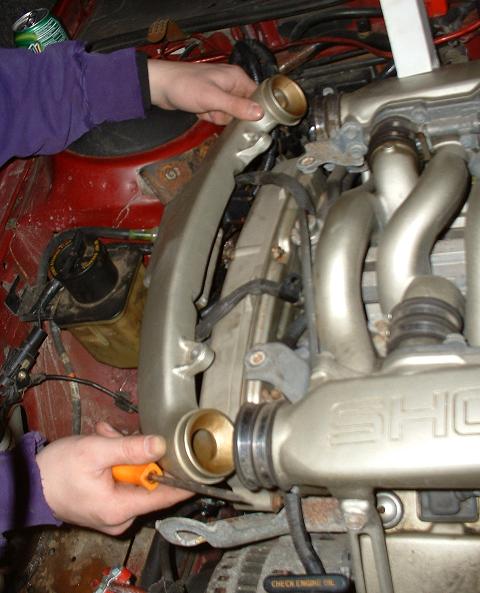
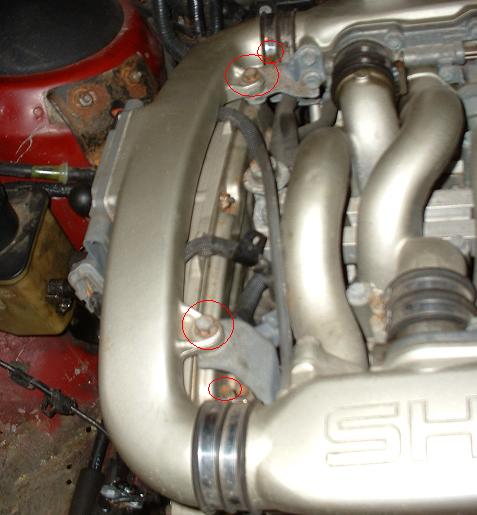
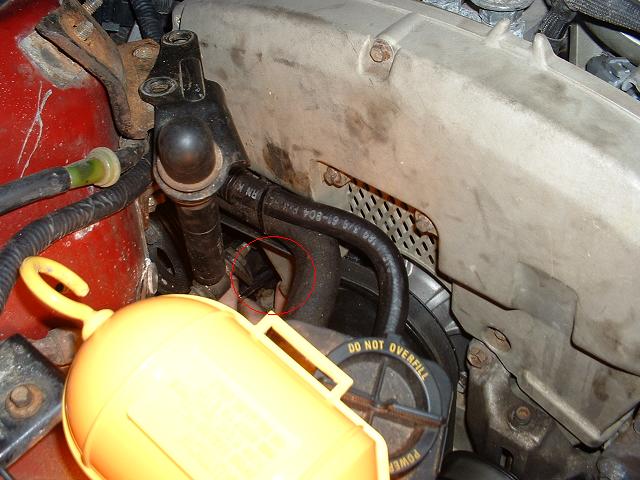
6. Remove engine roll damper. There are two 13mm bolts holding it to the bracket, 3 13mm nuts holding the bracket to the strut tower, and two 10mm bolts attaching the bottom of the damper to the block. First remove the damper itself, then the bracket.
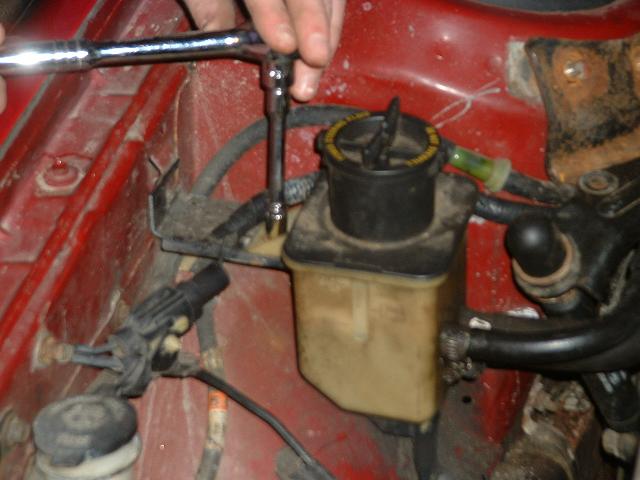
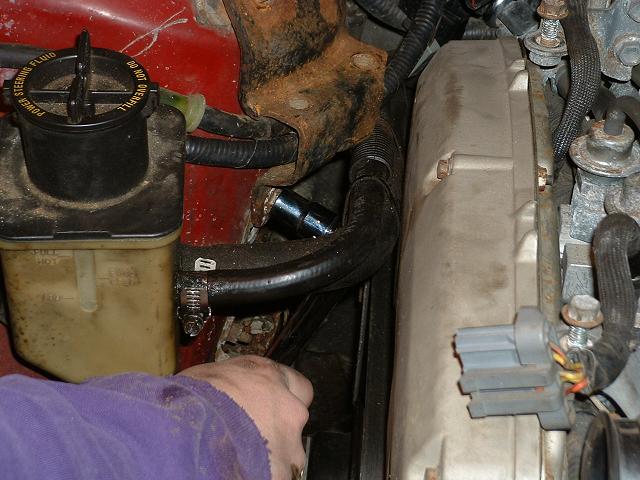
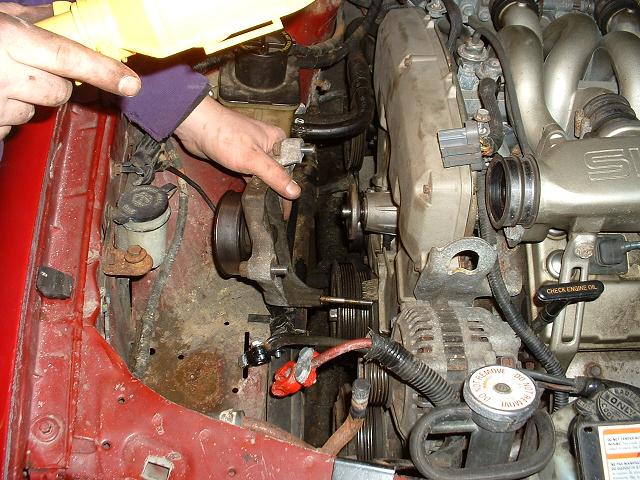
First remove the 8mm bolt holding the power steering reservoir down. This way you can move it as you need to to give yourself more room.
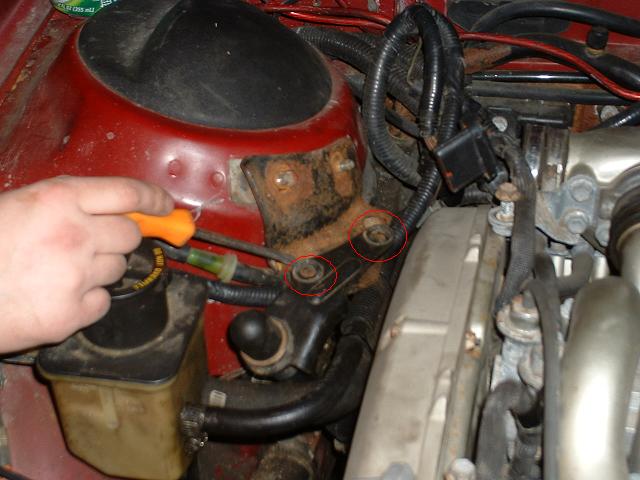
Remove two 13mm bolts from these locations
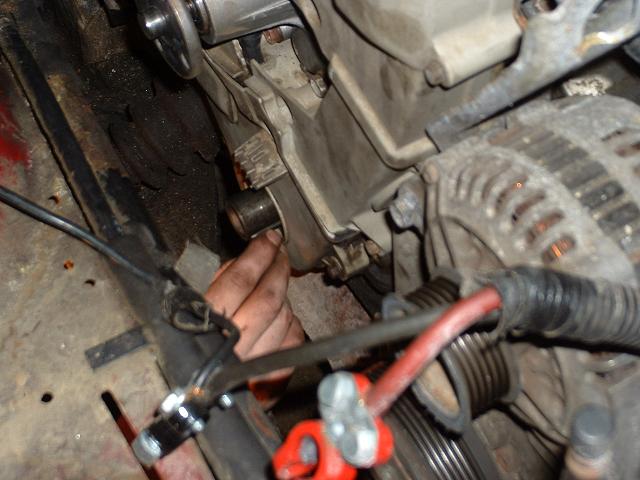
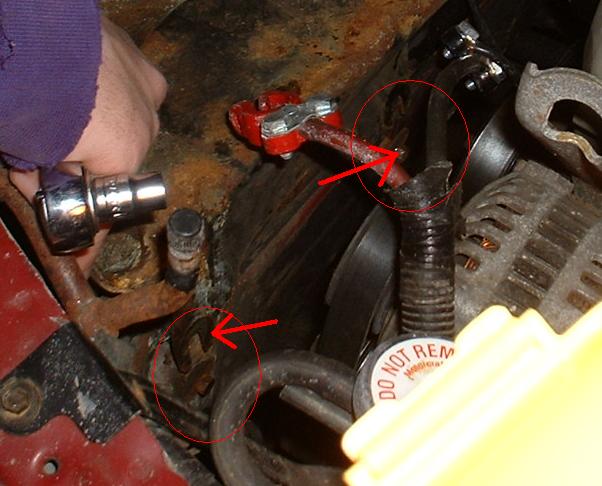
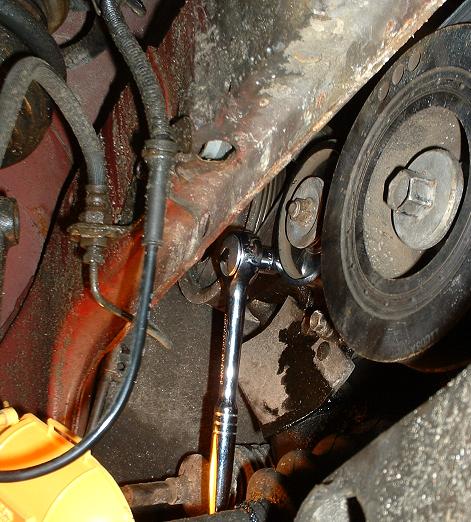
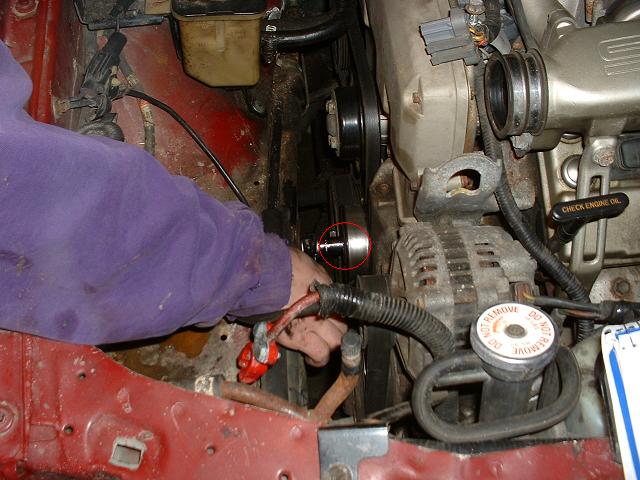
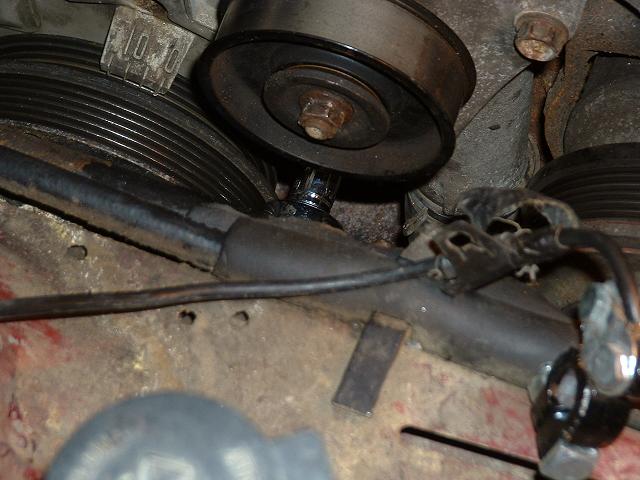
Then remove the two 10mm bolts holding the bottom of the roll damper to the engine block These can be a pain to get to and you might find it easier to first remove the belt tensioners. In these pics you can see the socket on the bolts.
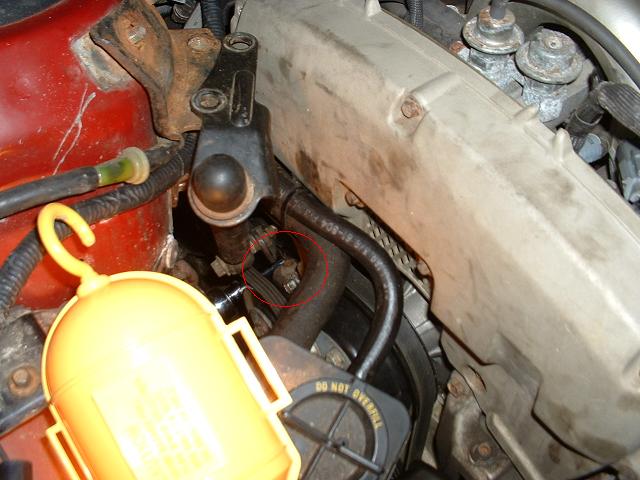
Access the bolts from underneath.
Next remove the two 13mm nuts from here
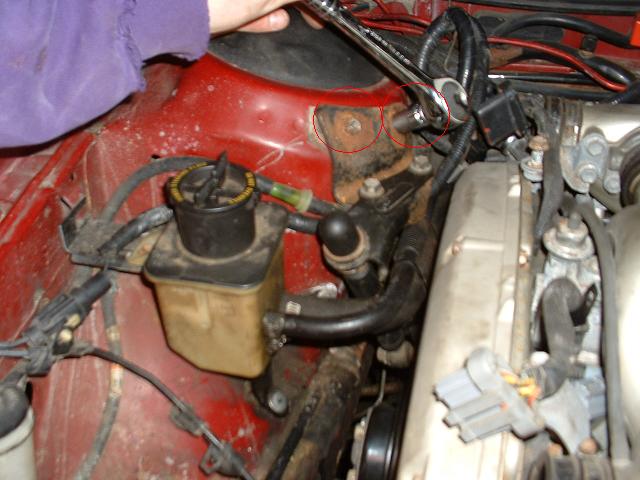
And one more from here. Notice that the engine roll damper has been removed. You can now remove the bracket from the strut tower.
7. Now we'll remove the belts and belt tensioners.
Loosen the 14mm nut on the front tensioner.
Then use a 5mm hex to loosen (turn counter-clockwise) the tensioner. Once it is loose, remove the belt.
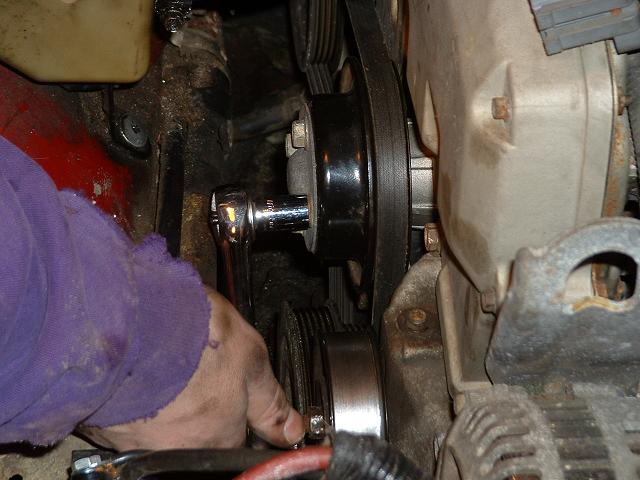
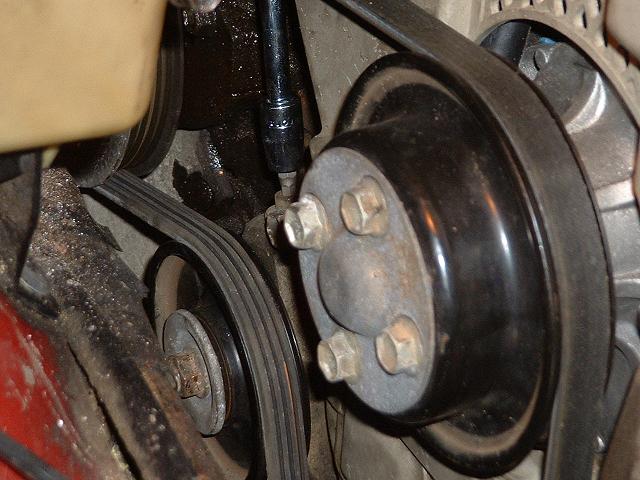
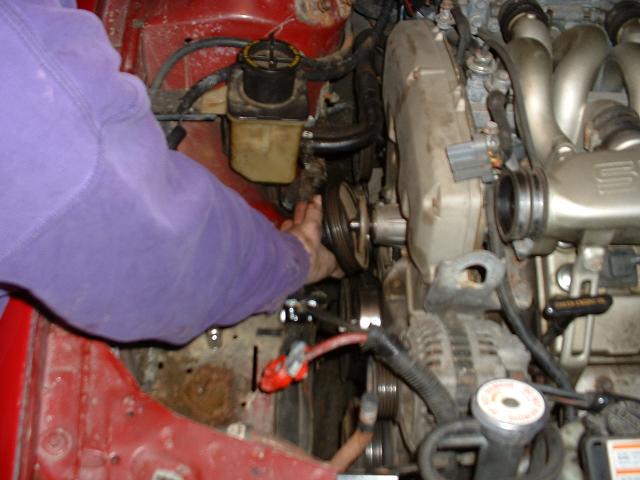
8. Before you take the next belt off, first remove the 4 12mm bolts holding the water pump pulley on. You need the belt on to do this, otherwise the pulley will just spin! Another option is to use a strap wrench after the belt has been removed.
9. Loosen the 14mm nut on the next belt tensioner
Then loosen the tensioner the same way as the first one. Remove the belt.
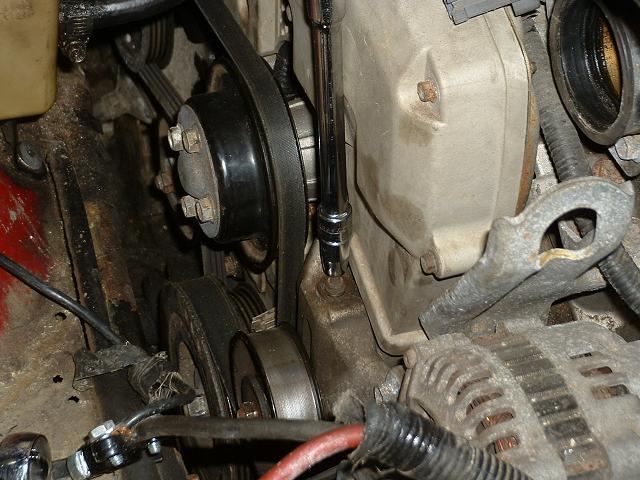
You'll need a long extension (18") to reach the tensioner, and it can be accessed through here. Alternately, you could use a small hex key and reach in there, but that would take forever! Not impossible though if you can't get a long enough extension. Also, in case you left the engine roll damper in place up to this point, there is a small cutout in the lower bracket that allows you to fit this extension through. This way you can tighten/loosen the belt even after everything is all back together.
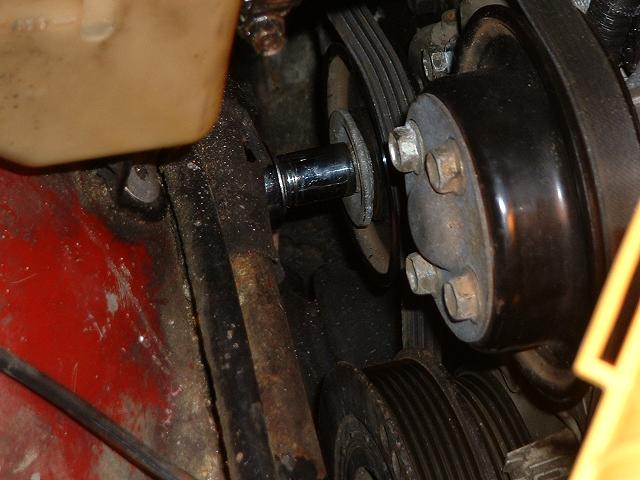
Then remove the water pump pulley. (You should already have unbolted it in step 8)
10. We'll now remove the belt tensioners. First will be the one on the right (wide belt). Remove the two 12mm bolts (top and bottom) and the one 14mm bolt (far right). Here the bottom bolt is out of sight. It is easily accessed from underneath (next pic).
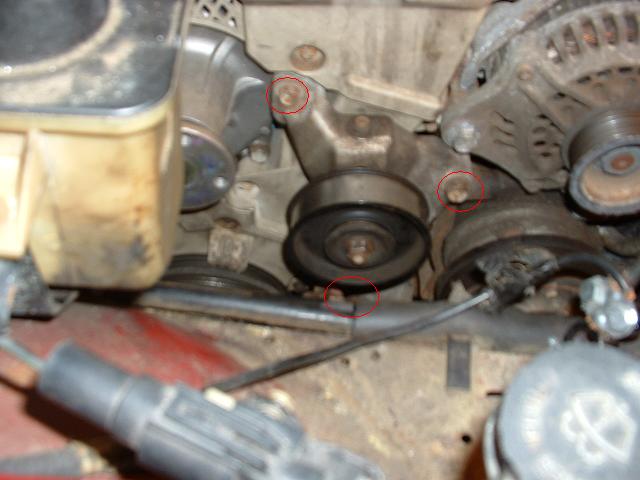
Accessing the lowest tensioner bolt
A pic of the tensioner being removed. Notice the length of the bottom bolt.
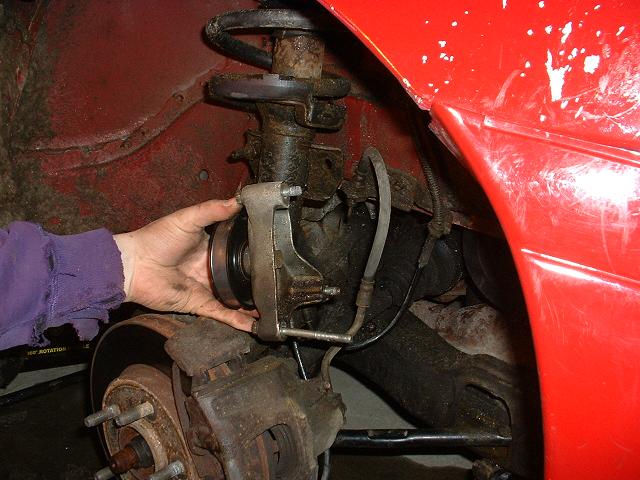
Now on to the left (narrow belt) tensioner. The easiest way to get to this is through the wheel well. There are 3 12mm bolts holding it on. Here is a pic of it being removed, again noticed the length of the lower right bolt.
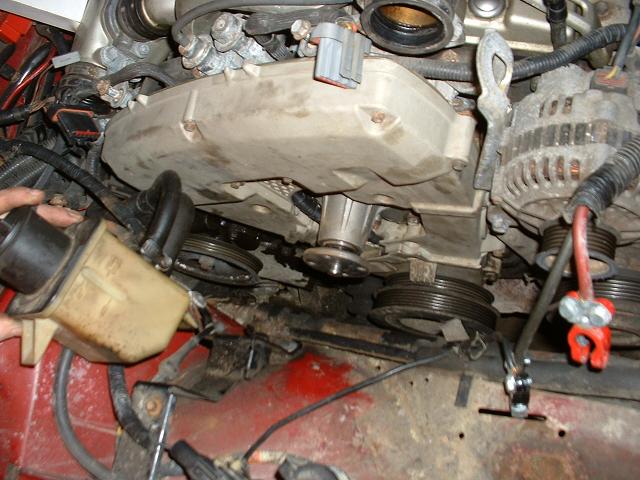
WOW! Look at all the room we have to work now that all that stuff is out of the way! If you haven't removed the engine roll damper, go back to step 6 and do it now.
11. Remove the crankshaft pulley. Attach appropriate steering wheel or engine damper puller.
Here is the crankshaft pulley removed, and a good look at the keyway. Looks to be in pretty good shape!